The following pictures show the first few steps I have taken in completing my hat.
These first two pictures show my hat after I folded my fabric around the head form then stitched the folds in place. I also folded back the front edge to make it neater.
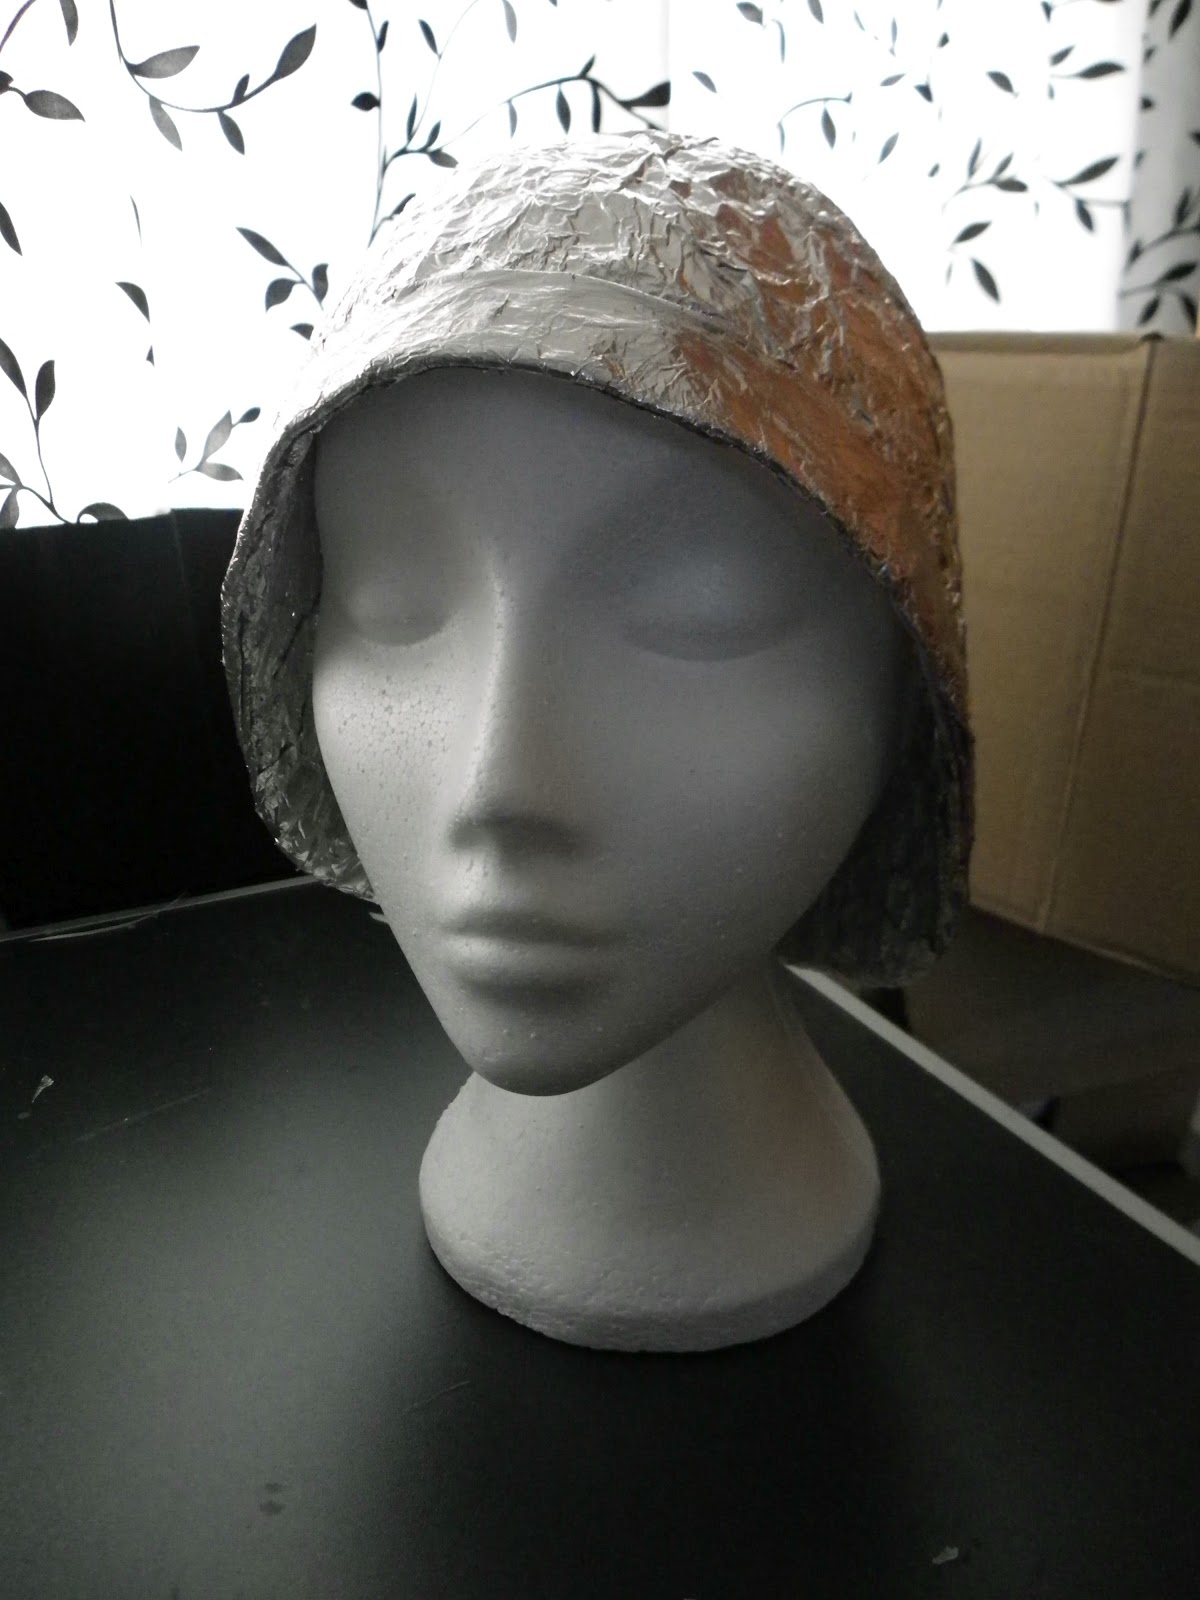
The next two pictures show my hat after I applied another layer of tin foil to the inside and outside of the hat to improve the stability of it and cover the visible stitches.
These pictures show my hat after I applied the tin foil spike to the top, as shown in my final design. My next steps will be to make the hollow foil spheres and then hot glue them to my hat. My last steps will be making a felt pad for the inside to make it more comfortable and then attaching the packaging label that I eventually make.
Using the tin foil layer material I made and tin foil on it's own was quite a difficult material to work with. At times it was quite fragile, flimsy and tore quite easily. But at other times, like when I was stitching it together, it was quite tough to sew through all the layers. If I were to make a hat like this again, I would probably make the base hat from fabric on it's own and then apply the tin foil afterwards. This would mean I would not have to deal with the thickness of the layers although applying the tin foil would probably be more difficult than gluing it to a flat layer in the way I did.


No comments:
Post a Comment